|
<< Click to Display Table of Contents >> User Level Watermarking |
  
|
|
<< Click to Display Table of Contents >> User Level Watermarking |
  
|
Watermarking is a feature that overlays a specific text on an asset assigned by an Administrator. The new Watermarking offers more control and flexibility in applying user level watermarking.
Important:
An Administrator can set a default watermark in the Management page. When this is set, a newly created user will inherit the watermark setting assigned to their role. Please contact support to access this feature.
How to enable the new Watermarking per User?
1. Go to the list of users in the Users tab.
2. Select the user.
3. Click the gray "Disabled" button, then a pop-up window appears.
4. Select your desired customization.
5. Click Save.
You can customize the watermark by changing or adjusting the following:
A. Watermark type.
| • | User Defined - Enter you desired text in the field |
| • | First and Last name - The name registered in the system will be used |
| • | IP Address only - The IP Address of the machine will be displayed |
| • | Image - Upload an image of various file types |
*When Image is selected, the Upload button will appear then you can drag and drop your image. The scale slider will also be added to the interface.
B. Font Color - Finding the perfect color is easier with the color picker.
C. Font Size - Size can be adjusted from 10 to 30.
D. Opacity - Move the slider to the desired visibility of the watermark. (0 to 100%)
E. Font - Choose your font style
F. Location (bottom, bottom left, bottom right, center, top, top left, top right and wrap)
G. User IP (When checked, will add the IP Address along side the selected watermark.)
Note:
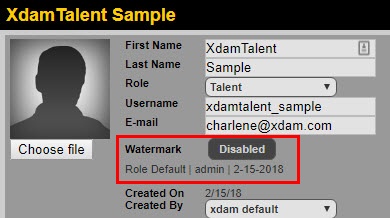
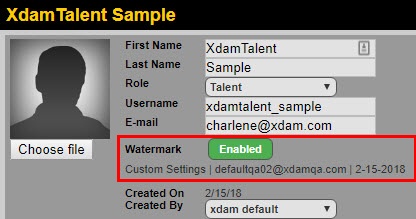
As seen from the screenshots below, when the watermark has been turned on, the type of watermark used, user who turned on and the date will be noted.

